Installation
Note: This guide only contains instructions on how to run Hasura EE GraphQL engine. If you haven’t used Hasura before, head to the Hasura docs after setting up Hasura EE GraphQL engine.
Pre-requisites
- You have Hasura EE Control Plane (Lux) installed
- You have the
<domain>at which you can access the Lux dashboard - (optional): A Redis instance that you can use for GraphQL response caching
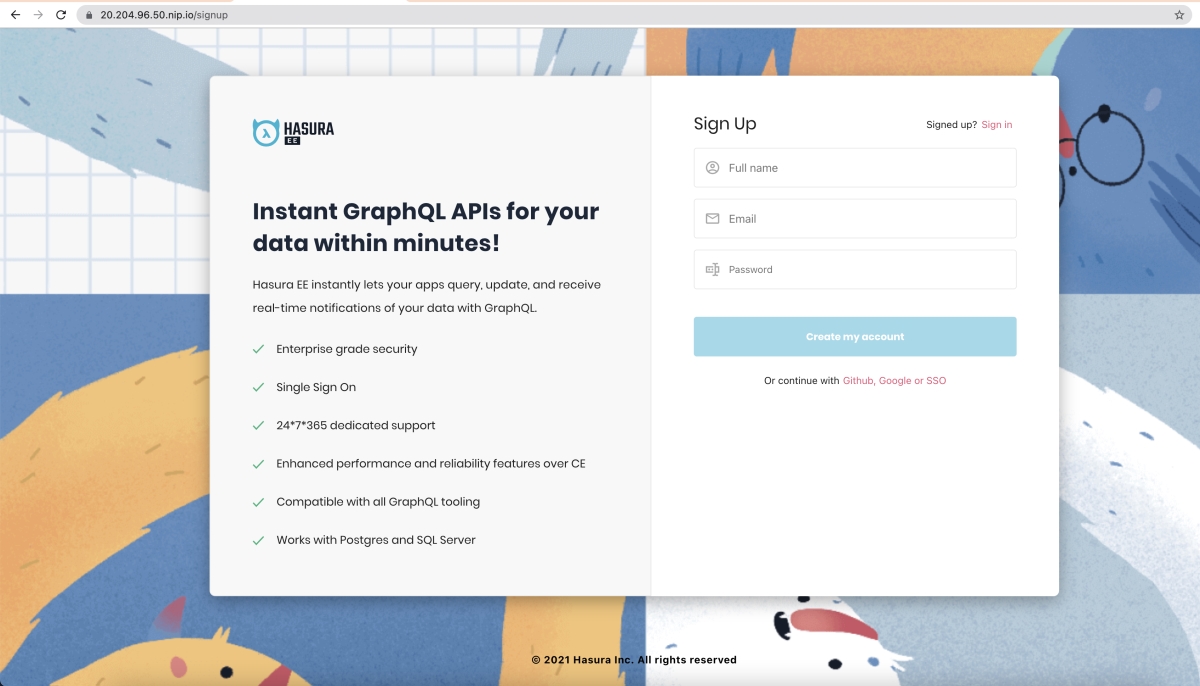
Step 0: Sign up for a Hasura Account

- Head to
http://<domain>and signup. - If your Hasura EE Control Plane has SSO enabled, or SMTP/OAuth2 login configured, you will be prompted for a verification workflow
- If not, request your Hasura EE Control Plane (Lux) administrator to manually verify your account.
Step 1: Create a Project and generate the Pro Key

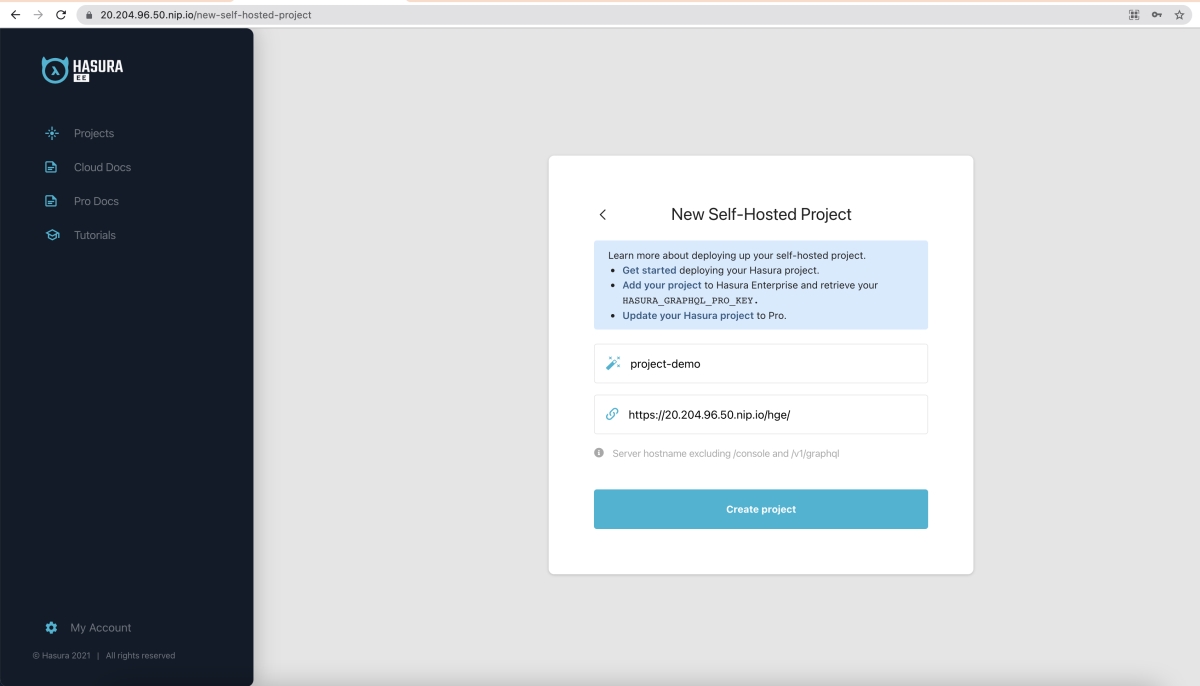
Once you’ve signed up, create a project via the Hasura EE dashboard:
- Name: a name for the project, for example
project-demo - Endpoint: the URL for the Hasura instance (without
/v1/graphql), for examplehttp://<domain>/hge/
Note: This information can be updated later.
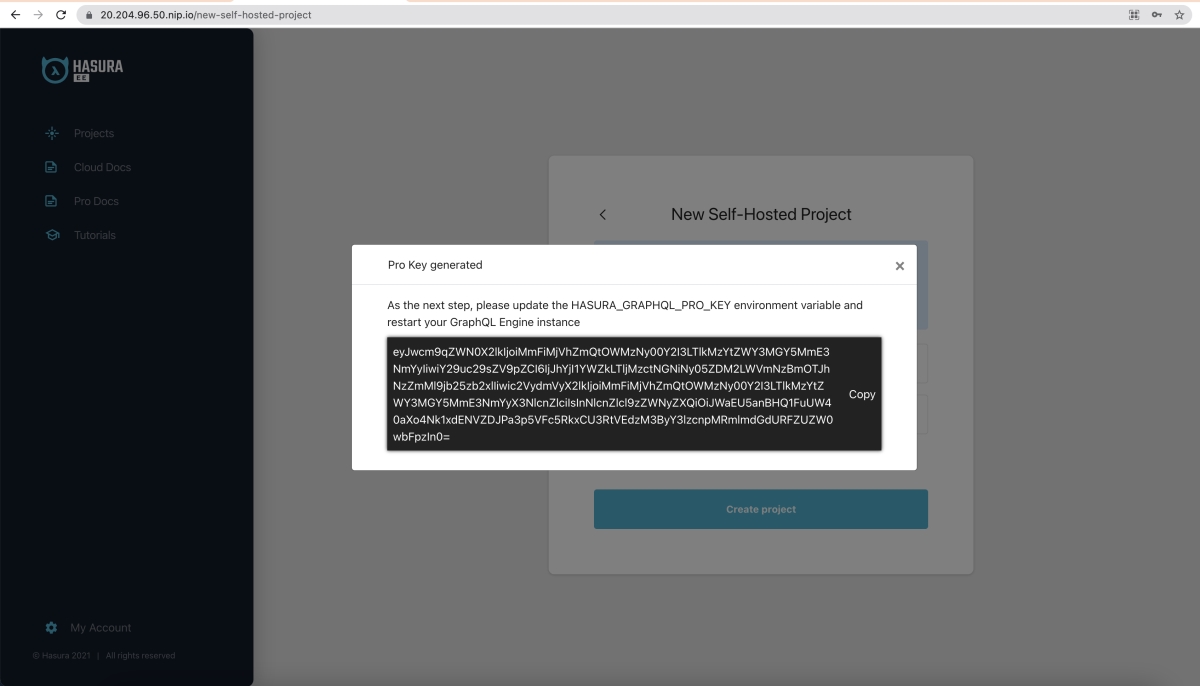
Click the Add button to create the Project and receive your Pro Key:

Step 2: Run Hasura EE Data Plane (GraphQL Engine) with the Pro Key
Now that you have a Hasura EE project created and identifiable by its Pro Key, you can run a Hasura GraphQL Engine server (one or multiple instances) as docker containers.
You can run Hasura GraphQL containers in any environment, as long as your Hasura GraphQL engine containers have network connectivity to the Hasura EE Control Plane (Lux).
You have 2 options:
- Upgrade your open-source Hasura CE docker manifests to use Hasura EE
- Run new Hasura EE GraphQL engine instances using docker. Download reference Hasura EE docker-compose.yaml
Step 2.1: Use the Hasura EE GraphQL Engine docker image
You can find a list of Hasura E.E GraphQL engine releases here. Please use the latest version based on your control plane version and new features.
Step 2.2: Set the Pro key and the admin-secret for this project
These two env vars will be required.
Set these variables in your docker-compose.yaml or your docker manifest.
HASURA_GRAPHQL_ADMIN_SECRET: you may have already done this, but if not, please add an admin secret to secure your instanceHASURA_GRAPHQL_PRO_KEY: this key allows communication between your Hasura Pro instance and Hasura’s backend. It will only be shown once. You can always create a new key if required but the previous key will no longer be valid.
Step 2.3: Run the container
Run Hasura EE GraphQL Engine with the following command (if you’re using docker-compose):
docker-compose up -d
Step 2.4: Optionally, set the environment variables below
If you are using a subdomain based deployment, defined by
global.subDomain: truein your overrides file,
  - name: HASURA_GRAPHQL_PRO_ENDPOINT
    value: "<uri-scheme>://<domain>"
If you are using a path based deployment,
global.subDomain: false
  - name: LUX_AUTH_ISSUER
    value: "<uri-scheme>://<domain>/oauth/"
  - name: LUX_OAUTH_JWK_URL
    value: "<uri-scheme>://<domain>/oauth/.well-known/jwks.json"
  - name: LUX_OAUTH_AUTHORIZATION_URL
    value: "<uri-scheme>://<domain>/oauth/oauth2/auth"
  - name: LUX_OAUTH_TOKEN_URL
    value: "<uri-scheme>://<domain>/oauth/oauth2/token"
  - name: LUX_LOG_SINK_URL
    value: "<uri-scheme>://<domain>/logs/v1.1/ingest"
  - name: LUX_VALIDATE_PAT_URL
    value: "<uri-scheme>://<domain>/auth/webhook/validate-pat"
  - name: LUX_METRICS_URL
    value: "<uri-scheme>://<domain>/metrics/v1/graphql"
Step 3: Open the Hasura Console
You can now access the Hasura console for your GraphQL Engine project through the central Hasura EE Control Plane dashboard.
Head to the Hasura EE dashboard at http://<domain>.
Go to the project you created and hit “Launch Console”.
Note: Chrome is recommended as the browser for using the Hasura EE Control Plane dashboard and the Project console
If you haven’t used Hasura before, head to the Hasura docs after setting up Hasura EE GraphQL engine.